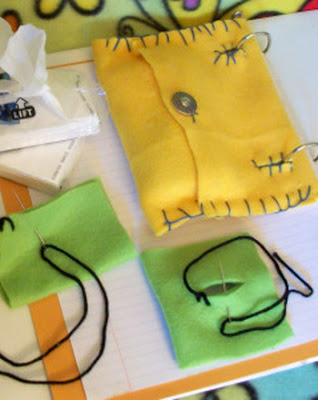
Tissue Pouch Activity
What You Need:
· 7" x 12" piece of fleece fabric
·
Ruler
·
Marker
·
Transparent tape
·
Embroidery thread
·
Tapestry needle
·
1 large shank button
·
Scissors
What You Do:
1) Put the fabric on a smooth surface, long side visible.
To enhance interactivity, help your child measure and draw a line down the
fabric, 4 ½ inches in from the right edge.
2) Help your child
in folding the right edge, aligning the edge with the line already drawn.
3) Draw a dot for
the button near the edge. Help your child in sewing the button.
4) Add tape to the
folded edge. Next, fold the left edge over the right edge, so that it overlaps
by ½ inch, and tape it down. Tell your child to mark the left edge over the
button as shown below.
5) Then mark two
dots 4 inches away the left side of the cozy, in other words about ¾
inches in from the fold. Cut short slits over the dots for the binder
rings, then slit the button hole.
\ 6) Help your child
in sewing!
7) Tie a knot at
the end of the thread and insert the needle into the top left corner of the
cozy. The knot should be sandwiched between the layers of felt.
8) Bring the needle
down through both layers of felt to the right of where the thread is coming out
of the fabric.
9) Pull the thread
most of the way through, then slip the needle through the loop from back to
front and tighten.
10) Continue
stitching until you reach the right edge, then turn the cozy around the repeat
for the bottom edge. Encourage your first grader to do as much of the sewing as
she can.
11) Once the top and
bottom edges are sewn, stitch along the button hole and binder slits.


Comments
Post a Comment